Replacing a light switch might seem like a simple task, but doing it correctly requires precision, safety awareness, and a basic understanding of electrical wiring. Whether you’re dealing with an HDB light switch in Singapore, upgrading to a dimmer, or installing a double switch, this guide covers every possible scenario in detail.

Understanding Light Switch Basics
Before diving into the wiring process, familiarize yourself with the components. A standard light switch consists of a faceplate, a switch mechanism, and a mounting box. The wiring setup varies depending on the switch type—single-pole, double-pole, dimmer, or smart switch. Always turn off the power at the circuit breaker before starting any electrical work. If you need additional assistance, you can refer to our guide that covers finding the breaker for a particular light switch.
Tools and Materials You’ll Need
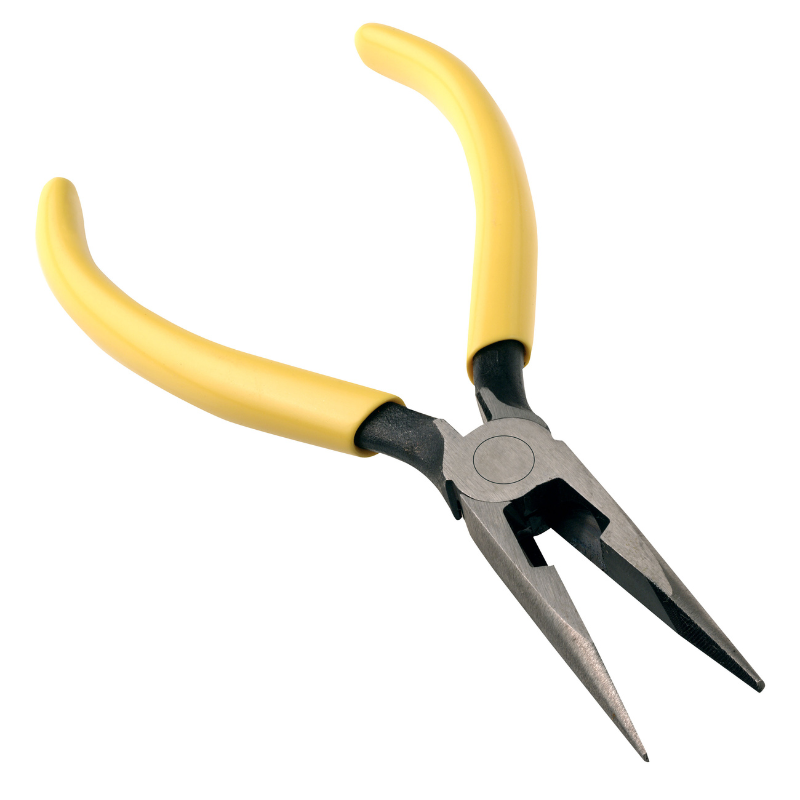
Gather the right tools to ensure a smooth installation:




How To Change a Light Switch (Step-by-Step)
Step 1: Turn Off the Power
Locate your circuit breaker and switch off the power to the light fixture. Use a voltage tester to confirm no current flows to the switch.
Step 2: Remove the Old Switch
Unscrew the faceplate and mounting screws holding the switch in place. Carefully pull the switch out, exposing the wires. Take note of the existing wire connections—most switches have three wires: live (brown/red), load (black), and earth (green/yellow).
Step 3: Disconnect the Wires
Loosen the terminal screws and detach the wires. If the wires are damaged, trim and strip them to expose fresh copper.
Step 4: Connect the New Switch
Attach the wires to the corresponding terminals on the new switch. For a single-pole switch, connect the live wire to the common terminal and the load wire to the traveler terminal. If you’re installing a dimmer, follow the manufacturer’s instructions because some dimmers require a neutral wire. There’s no neutral wire present in Singapore light switches.
Step 5: Secure the Switch and Test
Push the switch back into the box, screw it in place, and attach the faceplate. Restore power and test the switch.
How To Change HDB Light Switch
HDB light switches in Singapore typically follow British wiring standards. But even though Singapore uses a 230V, 13A power system similar to the UK, there is no neutral wire by default in Singapore switches, which means the wiring process is different for both. For one, smart switches specifically designed for UK households are not compatible with HDB flats. If you’re unsure about wiring your HDB light switch, it’s best to just consult a licensed electrician.
How To Change a Double Light Switch
A double switch controls two separate fixtures. Identify which wires correspond to each circuit before disconnecting the old switch. Connect the live wire to the common terminal and the two load wires to their respective traveler terminals.
Meanwhile, for a three-way light switch controlling multiple lights, we have a step-by-step wiring guide that can help you.
How To Change a Light Switch to a Dimmer
Dimmer switches require a compatible bulb (LED or incandescent). Some dimmers need a neutral wire, so always check your wiring before installation. If your setup lacks a neutral (which is the case in Singapore), then opt for a no-neutral dimmer model.
How To Wire LED Strip Lights to a Switch
To wire LED strip lights, connect the power supply’s live wire to the switch’s load terminal. For dimmable LED strips, use a compatible dimmer switch and ensure proper voltage matching.

How To Change a Light Switch with 3 or 4 Wires
A three-wire setup typically includes live, load, and earth. A four-wire configuration may involve an additional traveler wire for three-way switching. Always match the wires correctly to avoid circuit issues. Alternatively, hire an electrician.
How To Replace a Light Switch Box or Cover
If the mounting box is damaged, turn off the power, unscrew the old box, and install a new one. For screwless light switch covers, gently pry the faceplate off with a flathead screwdriver. For removal or replacement of light covers and diffusers, refer to our step-by-step guide.
Conclusion
hanging a light switch is a manageable DIY task with the right precautions. Whether you’re replacing an HDB light switch, installing a dimmer, or wiring LED strips, following proper steps ensures safety and functionality. If in doubt, contact FixFirst over Whatsapp so we can help you change or wire up your light switch fast.

FAQs: Common Light Switch Questions
Most older HDB switches do not have a neutral wire. Modern installations may include one, but always verify with a voltage tester because the default switch setup in Singapore has no neutral.
Costs vary depending on complexity, but expect to pay between $100-300 for professional installation. Our charges are more affordable here at FixFirst, though. Whatsapp us for a quote.
Use a three-way switch setup, connecting the traveler wires between both switches for multi-point control.
If present (and it’s typically absent among switch setups Singapore), the neutral wire connects to the switch’s neutral terminal or is capped off if unused.
Connect the live and neutral wires to the designated terminals, ensuring the neon light receives constant power.
A pull switch interrupts the live wire. So, connect it in series between the power source and the light fixture.
This is not possible. You cannot physically relocate a light switch without modifying the wiring. Light switches require electrical connections to function, so moving one necessitates extending or rerouting wires, which involves some level of rewiring. However, there are wireless alternatives that allow you to control lights from a new location without running new wires.
Faulty wiring, a tripped breaker, or a defective switch could be the cause. Test connections and replace the switch if necessary.
For prompt professional help with recurring breaker trips and faulty wiring problems that affect your light switches, Whatsapp us here at FixFirst!