The pursuit of fitness within the spatial constraints of a Singaporean HDB apartment demands smart solutions like the punching bag wall mount and the wall-mounted chin up bar. Free-standing squat racks, while effective, often claim a significant footprint, making them impractical for many homes. This is where the space-efficient design of a wall-mounted squat rack becomes a game-changer. By moving your primary strength training station vertically onto a wall, you reclaim precious floor space, creating a safer, more organised, and highly functional training area. This guide delves into everything you need to know about selecting, installing, and safely using a wall-mounted squat rack in your Singapore home.

Understanding Wall-Mounted Squat Racks: Types and Mechanisms
Not all wall-mounted racks are created equal. Understanding the different types available on the market is the first step toward making an informed purchase.
The most common and space-saving variant is the folding wall mounted squat rack. This design features two uprights that hold the barbell, which are hinged at the point where they connect to the wall-mounted horizontal beams. When your workout concludes, you simply unlatch the uprights and fold them flat against the wall. This ingenious design reduces the rack’s projection into the room from over a metre to a mere 20-30 centimetres, effectively making it disappear.
A specific model gaining popularity for its ultra-compact profile is the wall mounted fold up squat rack. This term often describes units where the entire apparatus, including the spotter arms, folds into a single, flush unit against the wall. It represents the pinnacle of space conservation, ideal for the most compact utility rooms or balconies.
Another excellent option is the wall mounted foldable squat rack, a phrase sometimes used interchangeably but which can also refer to systems with a single, wider folding mechanism. The core principle remains identical: secure vertical storage when not in active use. These systems are engineered from high-strength steel and typically support impressive weight capacities, often exceeding 300kg, which caters to both beginners and advanced lifters.
Beyond the folding models, fixed wall-mounted racks or half-racks also exist. These are permanently bolted to the wall and do not fold. They offer immense stability and a slightly faster setup but lack the transformative space-saving benefit of their folding counterparts, as the uprights remain protruding at all times.
Buying Guide: Selecting Your Wall-Mounted Squat Rack in Singapore
With several brands and models available, consider these factors to find your perfect match:
🔖 Weight Capacity
This is the most crucial specification. Choose a squat rack with a rated capacity that far exceeds your current lifting numbers to account for future progress and the dynamic force of re-racking weights.
🔖 Build Quality and Material
Look for racks constructed from at least 3mm thick, high-tensile steel. The quality of the steel and the welding at the joints are direct indicators of durability and safety. A powder-coated finish will resist corrosion in Singapore’s humid climate.
🔖 J-Hook and Safety Arm Design
The J-hooks that hold the bar should be robust and preferably lined with UHMW plastic to protect your barbell’s knurling. Safety arms or spotter arms are your primary safety feature; ensure they are easy to adjust and can be set at the correct height for your exercises.
🔖 Additional Features
Consider attachments like pull-up bars, landmine attachments, or plate storage pegs. While these add functionality, they also add cost and potential bulk.
🔖 Brand Reputation and Warranty
Purchase from reputable fitness equipment suppliers in Singapore. A strong warranty reflects the manufacturer’s confidence in their product and protects you against manufacturing defects.
The Critical Pre-Installation Checklist
Before you even purchase a squat rack, a thorough assessment of your space and wall is non-negotiable for safety and compliance.
✔️ Identifying the Right Wall
The single most important factor is locating a load-bearing wall. In HDB flats, this is typically a reinforced concrete wall. Never attempt to mount a squat rack on a partition wall, drywall, or a false wall, as these structures cannot handle the dynamic and immense loads generated during lifting. Tap on the wall; a solid, high-pitched sound indicates concrete, while a hollow sound suggests a non-load-bearing structure.
✔️ Understanding HDB Drilling Guidelines
The Housing & Development Board has specific guidelines regarding renovations, including drilling into walls. According to the HDB renovation guidelines, drilling into structural beams and columns is strictly prohibited. Your task is to locate the concrete wall panel, which is the intended and safe surface for mounting. Our team at FixFirst is thoroughly familiar with these regulations and can help you identify the perfect, compliant spot.
✔️ Measuring Your Space
You need adequate space for the barbell, weights, and your own movement. Ensure there is enough clearance in front of the rack for you to walk out a loaded barbell safely. Check the ceiling height to guarantee you can press a barbell overhead without contact. Also, consider the lateral space to avoid swinging plates into windows, furniture, or walls.
A Step-by-Step Guide to Installation
Proper installation is the bedrock of safety. While a competent DIY enthusiast can undertake this project, the margin for error is small. Here is a detailed overview of the process.
Tools You Will Need:
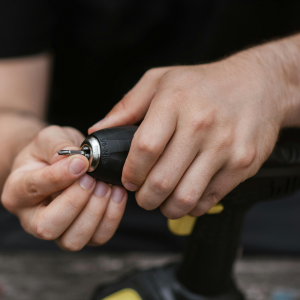
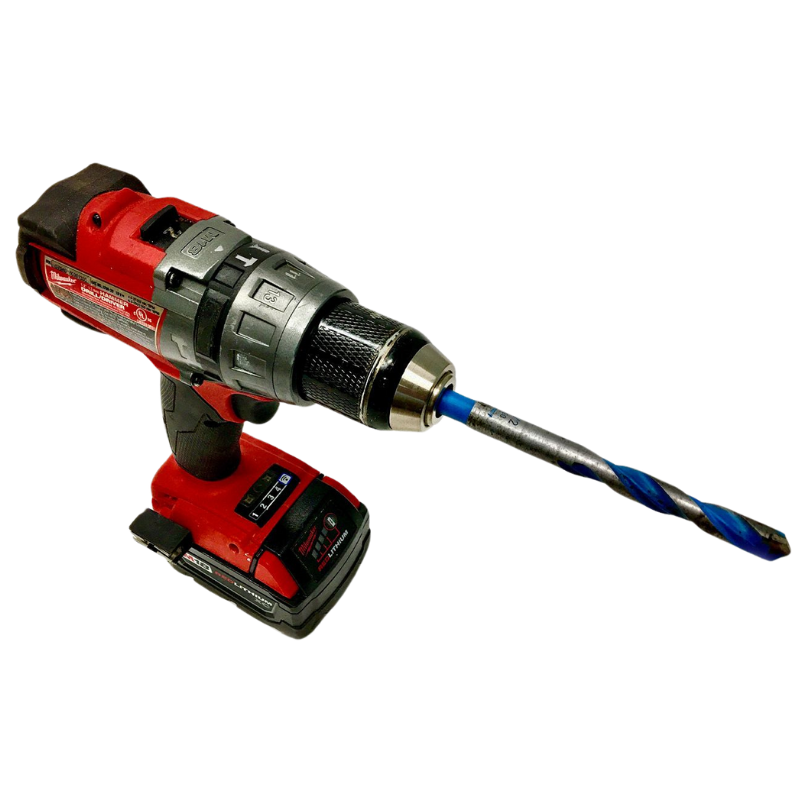
- A high-quality hammer drill
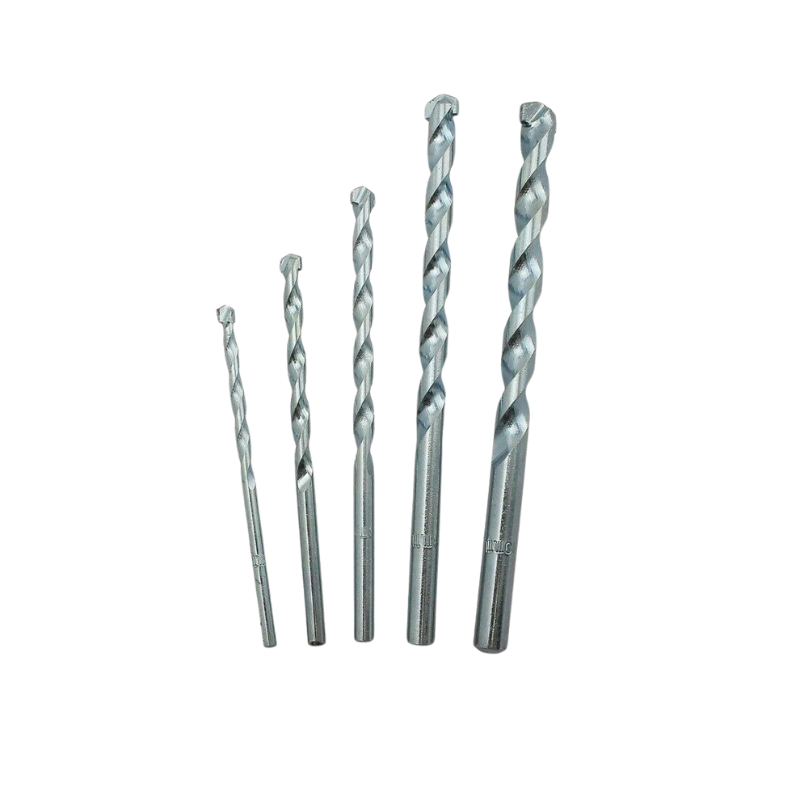
- A masonry drill bit set (sized for your specific anchors)
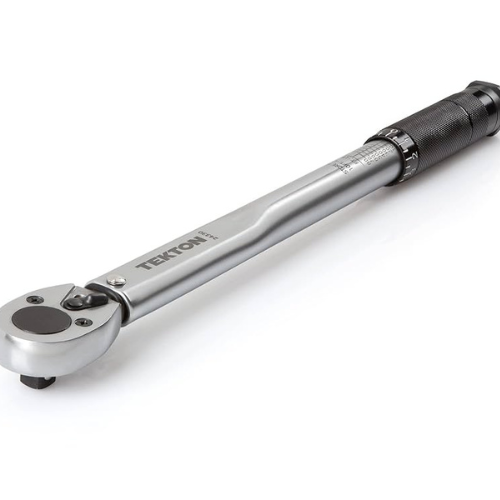
- A torque wrench
- A spirit level
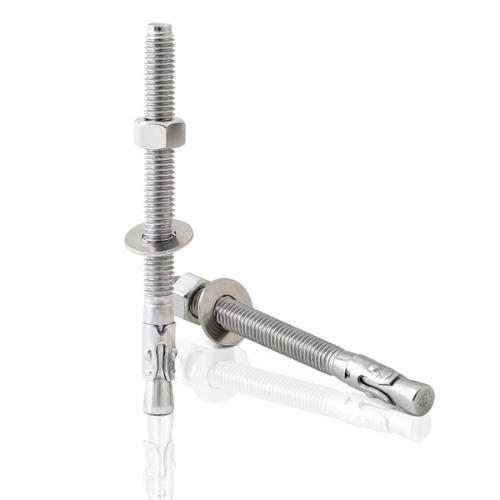
- The appropriate heavy-duty concrete anchors (usually supplied with the rack)
- Safety goggles and gloves


The Mounting Process:
| Step | Details |
|---|---|
| Step 1: Precise Template Placement | Most racks come with a paper or cardboard template. Tape this template to the wall at your desired height, using a spirit level to ensure it is perfectly horizontal. Double and triple-check this step, as any error here will compound. |
| Step 2: Marking the Drill Points | Use a pencil or marker to clearly indicate the centre of each mounting hole on the template. |
| Step 3: Selecting the Correct Drill Bit | Choose a masonry bit that matches the diameter specified for your concrete anchors. |
| Step 4: Drilling the Holes | Put on your safety gear. Using the hammer drill mode, drill straight into the concrete at each marked point to the exact depth required by the anchors. Blow away the concrete dust from the holes to ensure a clean fit. |
| Step 5: Installing the Anchors | Tap the concrete anchors into the holes gently until they are flush with the wall surface. |
| Step 6: Mounting the Main Beam | With the help of a partner, lift the main horizontal beam of the rack and align it with the installed anchors. Insert the provided bolts through the beam and into the anchors. |
| Step 7: Tightening with Torque | Using the torque wrench, tighten each bolt gradually and evenly in a criss-cross pattern. Do not overtighten a single bolt at once, as this can misalign the beam. Follow the manufacturer’s specified torque settings to achieve a secure hold without stripping the threads. |
| Step 8: Attaching the Uprights | Once the main beam is secure, attach the folding uprights or arms according to the manufacturer’s instructions. Test the folding mechanism to ensure it operates smoothly before loading any weight. |
| Step 9: The Final Load Test | Before using the rack for lifting, conduct a cautious load test. Gradually add weight to the bar and apply gentle downward pressure on the spotter arms to confirm everything is solid and immovable. |
Need a secure, damage-free gym rack installation in your HDB flat? FixFirst’s certified handymen use professional-grade tools and HDB-compliant techniques to ensure your rack is rock-solid.
Why Choose a FixFirst Handyman To Install Your Folding Wall-Mounted Squat Rack
While the DIY route may seem appealing, entrusting the installation of a critical safety device like a squat rack to a professional offers unparalleled peace of mind. FixFirst handymen bring more than just tools; they bring expertise. We understand the material composition of Singaporean HDB walls intimately. We know how to locate the densest, most secure part of the concrete panel to anchor into, avoiding internal rebar and ensuring maximum holding power.
We arrive equipped with industrial-grade hammer drills and torque wrenches, tools that the average homeowner may not possess, which are essential for creating clean holes and achieving the precise clamping force needed for safety. Our experience allows us to anticipate challenges, such as slightly uneven walls, and compensate for them during installation. Most importantly, we assume the liability for a job done correctly. You can be absolutely confident that your rack will remain steadfast under load, protecting your investment in equipment and, more importantly, your personal safety. Choosing FixFirst is not just a service; it is an investment in security and certainty.

Frequently Asked Questions (FAQs) - Wall Mounted Squat Rack Singapore
Quality folding racks typically have a capacity between 300kg and 500kg. Always check the manufacturer’s specifications and ensure your installation can support this load.
Potentially, yes, if the balcony wall is a certified load-bearing concrete structure. However, you must consider weather exposure and noise disturbance for neighbours.
You need enough clearance for the rack itself plus your height and the barbell. A ceiling height of at least 2.4 metres is a safe minimum to aim for.
A standard Olympic barbell (220cm) works with most racks. However, in very tight spaces, a shorter “rackable” barbell (e.g., 180cm) can be beneficial.
Perform a visual and manual check for tightness before every workout. Conduct a more thorough check with a torque wrench every few months or if you notice any movement or unusual noises.
Many models offer a pull-up bar as an integrated feature or a bolt-on attachment. Verify compatibility with the specific rack model you choose.
The installation process involves drilling large holes, which is a permanent modification. However, a professional installation will minimise cosmetic damage and ensure the structural integrity of the wall is maintained.
No, mounting a piece of fitness equipment on a concrete wall within your home does not typically require a permit, as it is not considered a structural alteration. It is always prudent to follow HDB’s general renovation guidelines.
A wall-mounted squat rack represents one of the most intelligent upgrades for a serious home gym enthusiast in space-conscious Singapore. It empowers you to pursue heavy compound lifts without sacrificing your living area. The journey from selection to final setup demands careful attention to detail, especially regarding the structural integrity of your wall and the precision of the installation. While a DIY approach is possible, the risks involved with an improperly mounted squat rack are simply too great. For absolute confidence and safety, professional mounting and installation is the wisest choice.
Ready to secure your gains and your safety? Contact FixFirst today for a professional assessment and expert installation of your new wall-mounted squat rack. Our skilled handymen will ensure your home gym foundation is built to last.