Upgrading or modifying your home’s electrical system can be a rewarding DIY project, but it requires careful attention to safety and proper technique. One common task homeowners encounter is learning how to wire a light switch and outlet together, whether for added convenience in a room or as part of a renovation of your HDB flat. This guide will walk you through the process step by step, ensuring a safe and code-compliant installation.
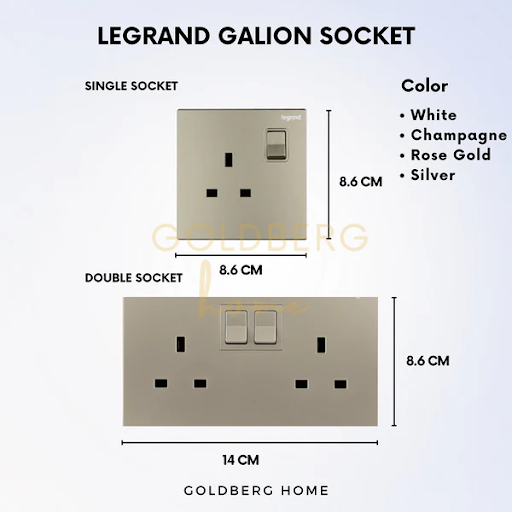
Goldberg Home switches and sockets
Understanding the Basics
Before diving into the installation, it’s essential to understand how switches and outlets function within an electrical circuit. A standard light switch controls the flow of electricity to a fixture, while an outlet provides a point for plugging in devices. When wired together, they can share a single power source, allowing you to control a light while keeping the outlet constantly powered—or vice versa, depending on your needs.
The key to success lies in proper wiring connections, correct wire gauge selection, and adherence to local electrical codes. If you’re unsure about any step, consulting a licensed electrician is always the safest choice.
In HDB units, setting up electrical lighting systems, including their switches and outlets (for low-power electronic devices), does not require a permit, but you might want to note this part of the HDB guidelines on electrical works: “No embedding of wiring (housed in metal/ high impact PVC conduit) in RC slab, beam, column, wall, in wall plaster or other finishes.”
Tools and Materials You’ll Need
To wire a light switch and outlet, you’ll need the following tools and materials:
A voltage tester (to confirm power is off)
A screwdriver (flathead and Phillips)
Wire strippers
Electrical tape
A junction box (if not already installed)
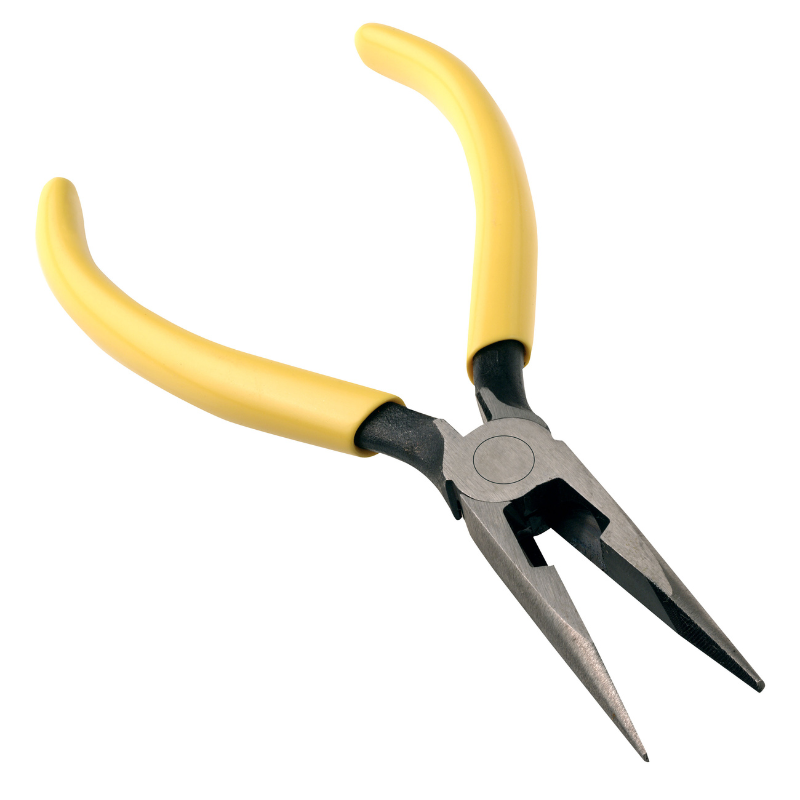
Needle-nose pliers
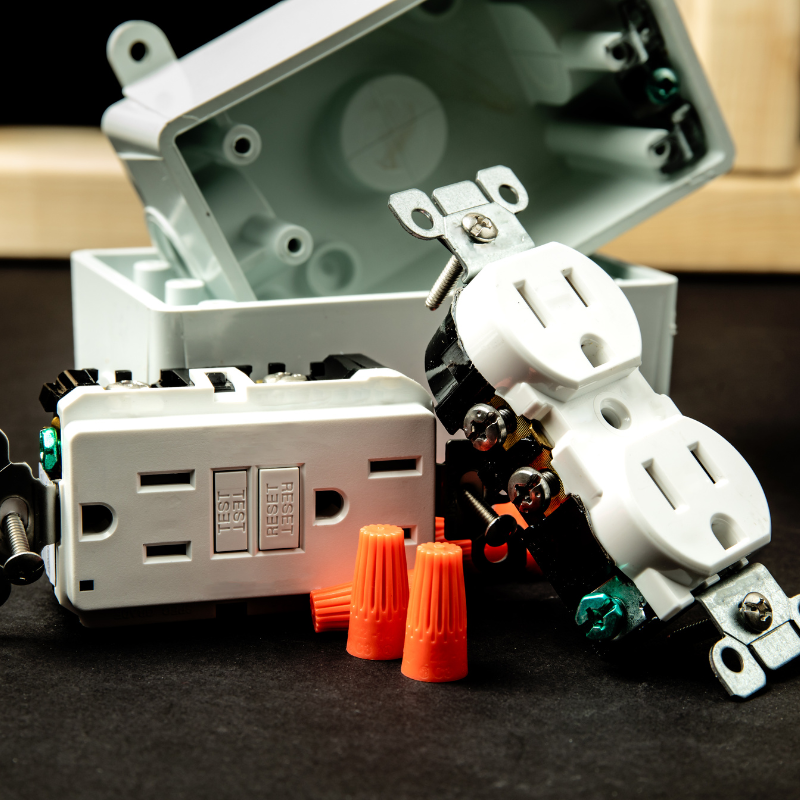
A single-pole switch
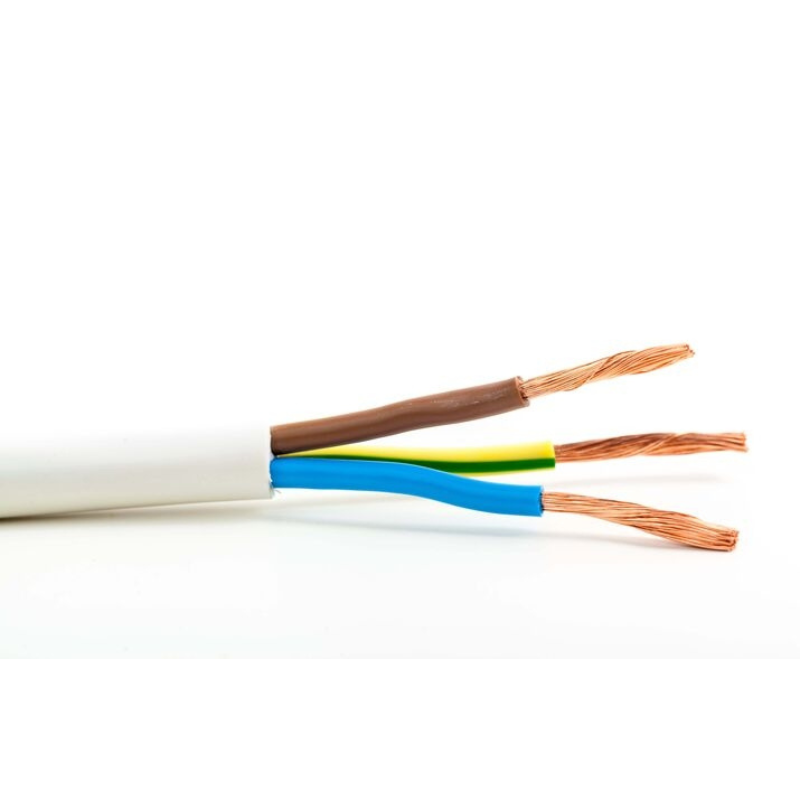
NM (Romex) electrical cable (14/2 or 12/2, depending on circuit amperage)
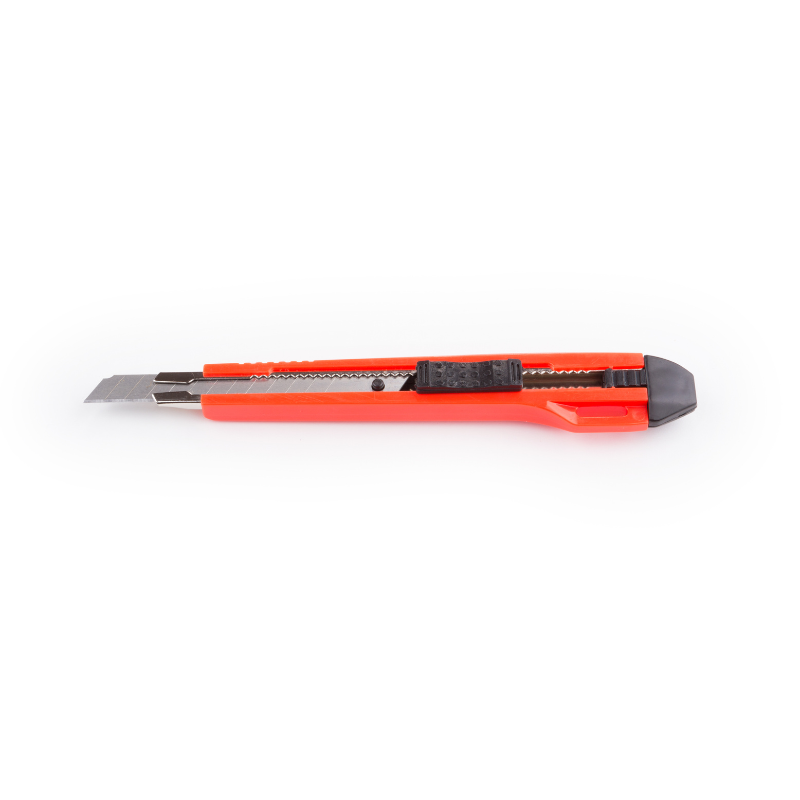
A utility knife
A duplex electrical outlet
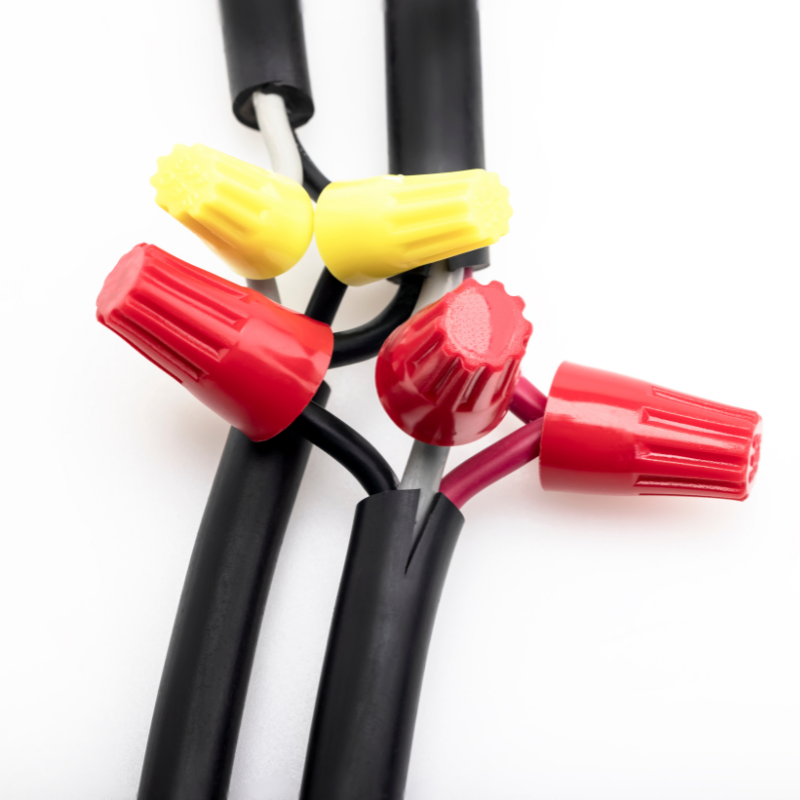
Wire connectors (wire nuts)
Step 1: Turn Off Power and Prepare the Workspace
Safety should always be the top priority when working with electricity. Start by locating the correct circuit breaker in your electrical panel and switching it off. Use a voltage tester on the wires inside the junction box to confirm that no power is running through them. If you’re installing a new box, ensure it is properly secured to a stud or existing structure. For retrofitting, remove the old switch or outlet carefully, taking note of how the wires were connected.
Step 2: Identify and Connect the Wires
A typical circuit consists of three primary wires:
Hot (Black): Carries the current from the power source.
Neutral (White): Returns the current to complete the circuit.
Ground (Bare or Green): Provides a safety path for stray electricity.
If you’re wiring a switch and outlet in the same box, you’ll need to determine whether you want the outlet to be always on or switched. Here’s how to proceed for each scenario:
Option 1: Outlet Always On, Switch Controls Light
In this setup, the outlet remains powered independently while the switch controls a separate light. Connect the incoming hot wire (black) to both the outlet’s brass terminal and a pigtail leading to the switch. The neutral (white) wires should be connected together, with one going to the outlet’s silver terminal. The switch then sends power to the light fixture via another black wire.
Option 2: Switch Controls Both Outlet and Light
If you want the switch to control both the outlet and a light, connect the hot wire to the switch first. From there, run a jumper wire to the outlet’s brass terminal. The neutral wires remain connected directly to the outlet.
Step 3: Secure Connections and Install Devices
Once all wires are properly connected with wire nuts and wrapped in electrical tape for extra security, carefully tuck them into the junction box. Mount the switch and outlet into the box, ensuring they sit flush against the wall. Screw them in place and attach the faceplate.
Step 4: Restore Power and Test
Turn the circuit breaker back on and test the switch and outlet. If the light turns on and off as expected and the outlet provides power (either constantly or via the switch, depending on your wiring choice), the installation is successful. If not, double-check connections and ensure no wires are loose or improperly connected.
When To Call a Professional
While wiring a light switch and outlet is manageable for many DIYers, some situations require professional expertise. If you encounter aluminum wiring, outdated knob-and-tube systems, or uncertainty about local electrical codes, hiring a licensed electrician ensures safety and compliance.
Conclusion
Learning how to wire a light switch and outlet gives you greater control over your home’s electrical setup, whether for convenience or functionality. By following these steps and prioritizing safety, you can achieve a professional-quality installation.
For expert electrical services in Singapore, get in touch with FixFirst over Whatsapp today to ensure your wiring projects are completed safely and efficiently.