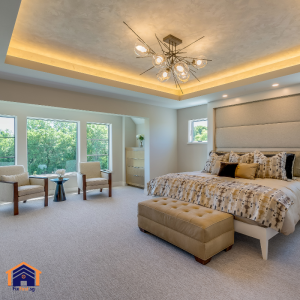
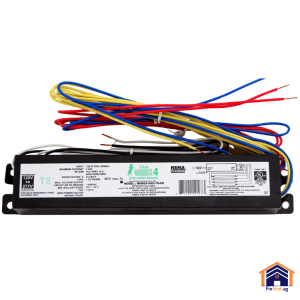
Flush mount ceiling lights are a popular lighting choice in Singaporean homes, especially in HDB flats and condominiums where low-profile lighting is preferred. So, whether you’re replacing an old ceiling light fixture or upgrading to a more modern design, knowing how to change flush mount ceiling light properly ensures a safe and successful installation. This guide walks you through the entire process while addressing common concerns in Singapore’s electrical context.
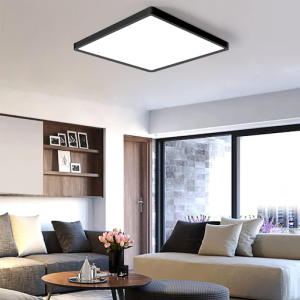
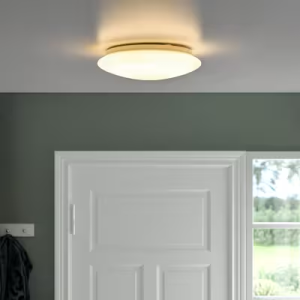
Understanding Flush Mount Ceiling Lights
Flush mount lights sit directly against the ceiling, making them ideal for rooms with low ceilings. They provide general illumination without hanging down like pendant lights or chandeliers. But, before replacing one, it is important to:
- Confirm the light’s size matches your existing mounting bracket
- Check that your new fixture is compatible with Singapore’s 230V electrical system.
- Ensure the circuit is properly rated for the light’s wattage.
Safety Precautions Before Starting
Working with electrical fixtures requires caution. Always:
✔️Turn off the power at the main circuit breaker.
✔️Use a voltage tester to confirm wires aren’t live.
✔️Work with dry hands and stand on a stable surface.
✔️Have someone assist you when handling larger fixtures.
HDB residents should note that some electrical works in HDB flats may require professional assistance to comply with building regulations.
Steps for Replacing a Light Fixture
| Step | Details |
|---|---|
| Removing the Old Fixture | Begin by removing the old light cover. Most flush mounts have either a screw-on or twist-lock design. For screw-on types, rotate the decorative nut counterclockwise. For twist-lock, gently turn the glass dome until it releases. Once the cover is off, you’ll see the mounting bracket secured to the electrical box. Take a photo of the wire connections for reference before disconnecting them. Typically, you’ll find:
Loosen the terminal screws and carefully disconnect the wires. Remove the old mounting bracket by unscrewing it from the electrical box. |
| Installing the New Fixture | First, attach the new mounting bracket to the electrical box using the provided screws. Ensure it’s securely fastened as this supports the entire light fixture. Connect the wires from the ceiling to the new light fixture:
Use wire nuts or the provided connectors and ensure no bare wire is exposed. Once connected, carefully tuck the wires into the electrical box. |
| Securing the New Light | Align the fixture with the mounting bracket and secure it according to the manufacturer’s instructions. This might involve tightening screws or twisting the base into place.
|
Testing and Troubleshooting
After installation:
- Restore power at the circuit breaker.
- Test the light switch.
- Check for flickering or unusual noises.
If the light doesn’t work:
- Verify all wire connections are secure.
- Confirm that the bulbs are properly installed.
- Ensure the circuit breaker hasn’t tripped.
How To Install a Semi-Flush Mount Ceiling Light
Installing a semi-flush mount ceiling light blends the elegance of a chandelier with the practicality of close-to-ceiling lighting, making it a versatile choice for rooms with standard ceiling heights. Before starting, gather the necessary tools: a voltage tester, wire stripper, screwdriver, ladder, and the new fixture’s mounting hardware. Always turn off the power at the circuit breaker and use a voltage tester to confirm the wires are not live.
Remove the existing fixture, if present. Unscrew the mounting plate and carefully lower the old light, exposing the electrical box and wiring. Disconnect the wires by loosening the wire nuts. Note the color coding (black to black, white to white, and green or bare copper for ground). Inspect the electrical box to ensure it’s securely anchored; if it feels loose, reinforce it with a brace or replace it for safety.
Next, assemble the new semi-flush mount fixture according to the manufacturer’s instructions. Most models include a mounting bracket that attaches directly to the electrical box. Align the bracket and secure it with screws, ensuring it sits flush against the ceiling. Connect the fixture’s wires to the corresponding house wires. Twist matching colors together, cap them with wire nuts, and tuck them neatly into the box.
Finally, carefully lift the fixture and attach it to the mounting bracket, following the specific locking mechanism (often screws or a twist-on design). Then adjust any hanging rods or decorative elements to achieve the desired drop length, typically between 6 to 18 inches for semi-flush styles. Restore power and test the light. If it flickers or doesn’t turn on, recheck the connections or consult an electrician.
When To Call a Professional
While changing a flush mount light is generally straightforward, consider professional help if:
🚫 The electrical box appears damaged
🚫 You encounter aluminum wiring (common in older Singapore homes)
🚫 The circuit keeps tripping after installation
🚫 You’re uncomfortable working with electrical components
Singapore’s licensed electricians can ensure the job meets safety standards and building codes.
Maintenance Tips for Flush Mount Lights
To keep your new fixture in top condition:
✔️Dust regularly with a microfiber cloth.
✔️Avoid using harsh chemicals on glass covers.
✔️Check wire connections annually for signs of wear.
✔️Replace bulbs before they burn out completely to prevent overheating.
Choosing the Right Replacement Light
When selecting a new flush mount light for your Singapore home, consider:
✔️Size: Measure your existing fixture’s diameter.
✔️Brightness: Choose lumens (not watts) based on room size.
✔️Style: Match your interior design aesthetic.
✔️Smart features: Consider WiFi-enabled options for modern homes.
Conclusion
Knowing how to change flush mount ceiling light properly allows Singapore homeowners to update their lighting safely and efficiently. While the process is manageable for many DIYers, don’t hesitate to contact a professional electrician for complex installations or if you encounter any electrical concerns. For reliable lighting installation services in Singapore, FixFirst offers expert assistance to ensure your new flush mount light is installed correctly and safely. Upgrade your home lighting today with confidence!