The feature wall stands as a centerpiece in modern Singaporean interior design, a deliberate focal point that injects personality and style into our often compact HDB flats. It might boast a bold paint colour, textured wallpaper, or elegant cladding. Integrating your television into this statement piece elevates your entertainment setup from a mere appliance to an integrated element of your home’s aesthetic. However, the process of how to mount a TV on a feature wall involves more than just drilling a few holes; it demands careful planning, an understanding of your wall’s construction, and strict adherence to HDB guidelines. This comprehensive guide will walk you through every consideration, ensuring your television installation is both stunning and secure.
Understanding Your Feature Wall and Its Unique Challenges
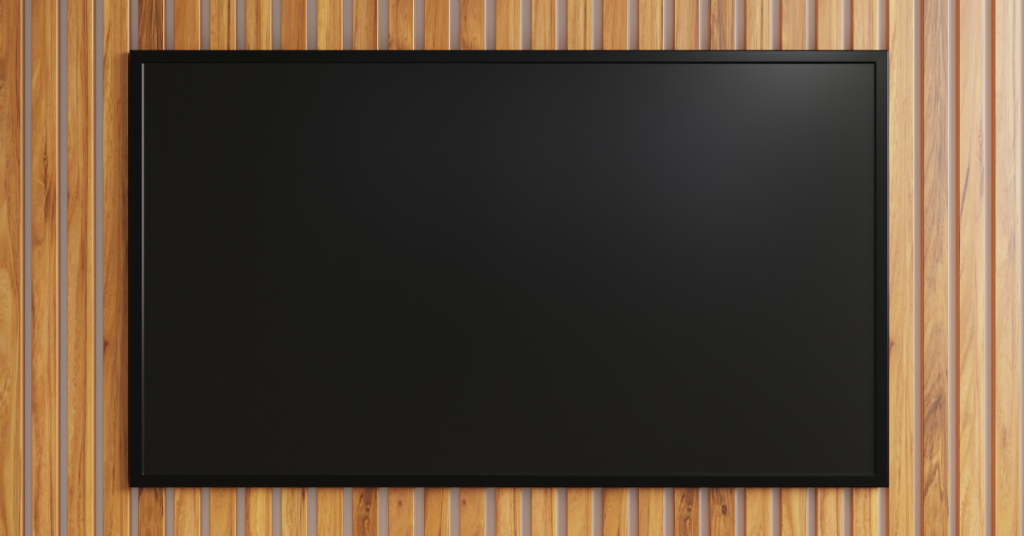
A feature wall is any wall singled out for special design treatment. In Singapore homes, common materials include drywall, plaster over brick, and increasingly, various forms of cladding like wood panels, marble-effect slabs, or decorative tiles. The core challenge lies in identifying what lies beneath the surface. Is it a standard HDB brick wall, a hollow partition, or a reinforced concrete column? The integrity of your entire installation hinges on this knowledge. A successful project that aims to mount TV on feature wall must first diagnose the wall’s composition to select the correct hardware and technique. Failure to do so risks a loose mount or, worse, significant damage to your beautiful feature wall.
Pre-Installation: Planning, Positioning, and HDB Compliance
Before you pick up a drill, meticulous planning sets the stage for a flawless installation. This phase is arguably the most critical, blending ergonomics, aesthetics, and regulatory compliance.
Navigating HDB Renovation Regulations
As an HDB homeowner, you must operate within the framework set by the Housing & Development Board. Drilling into walls is permitted, but with crucial caveats. The HDB renovation guidelines strictly prohibit work that damages structural elements or compromises the integrity of your flat and your neighbours’. You cannot drill deep into reinforced concrete structural beams and columns. Furthermore, for certain types of decorative wall finishes, especially those involving heavy cladding, you may need to engage a HDB-approved renovator. Always consult the official HDB website and your specific estate’s renovation booklet before commencing any work. This due diligence is the first, non-negotiable step in any project that anchors TV mount feature wall.
Determining the Optimal TV Position and Height
The ideal viewing height positions the center of your TV screen at or slightly below your eye level when you are in a seated viewing position. Consider the room’s layout, the primary seating distance, and the presence of glare from windows. A well-planned position enhances comfort and integrates the television as a natural component of your feature wall, not an afterthought. Spend time marking the proposed spot with painter’s tape and viewing it from different angles in the room. This visualisation helps you balance the television’s presence with the feature wall’s other design elements.
The Essential Toolkit and Hardware for a Secure Mount
Gathering the right tools and materials beforehand ensures a smooth process. You will need a stud finder (for hollow walls), a spirit level, a power drill, assorted drill bits, measuring tape, and a pencil. The most critical component, however, is the hardware.
For solid brick or concrete walls, high-quality concrete anchors and screws are mandatory. For hollow feature walls like drywall, you absolutely must locate the vertical metal studs and use appropriate toggle bolts or hollow wall anchors designed to bear the television’s weight. The choice of correct hardware is what securely anchors TV mount feature wall and prevents a disastrous collapse. Never rely on standard plastic plugs in a hollow wall for a heavy item like a TV.
Add Your Heading Text Here
A Step-by-Step Guide on How to Mount a TV on a Feature Wall
| Step | Details |
|---|---|
| Step 1: Locate the Wall Studs or Solid Masonry | Use a stud finder to map out the studs behind a hollow feature wall. For solid walls, you can tap the surface; a hollow sound indicates plaster, while a solid sound suggests brick or concrete. Mark the stud centers clearly. |
| Step 2: Hold the Mounting Bracket and Mark Drill Points | With the help of a friend, hold the TV wall bracket firmly against the wall at your desired height. Use a spirit level to ensure it is perfectly horizontal. Then, carefully mark the drilling points through the bracket’s holes onto the wall. |
| Step 3: Drill Pilot Holes with Precision | Select a drill bit that matches the size required for your specific wall anchors. Drill straight into the marked points at a slow, controlled speed. If you hit a concrete beam, do not force the drill; you may need to adjust the bracket’s position slightly. |
| Step 4: Install Wall Anchors and Secure the Bracket | Insert the appropriate wall anchors into the pilot holes. For metal studs, you may use specific toggle bolts. Align the wall bracket with the anchors and drive the mounting screws through the bracket and into the anchors. Tighten them firmly until the bracket is snug and immovable against the wall. |
| Step 5: Attach the Mounting Arms to Your Television | Following the mount’s manual, securely attach the mounting arms to the threaded holes on the back of your TV using the provided screws. Ensure you use the correct screw length to avoid damaging your TV’s internal components. |
| Step 6: The Final Connection | With the wall bracket secure and the arms attached to the TV, you are ready for the final lift. This is a two-person job. Carefully lift the television and hook the mounting arms onto the wall bracket. Listen for a definitive click or latch that confirms it is locked in place. |
| Step 7: Cable Management for a Clean Finish | The final touch for a professional look involves managing the cables. Use conduit raceways, in-wall cable management kits (if HDB rules permit chasing), or simple cable ties to bundle and hide the power cord and HDMI cables, preserving the clean lines of your feature wall TV mount Singapore installation. |
Need help installing a TV wall mount in your HDB flat? FixFirst’s certified handymen provide secure, damage-free mounting on concrete, hollow, and feature walls. We ensure your mount is level, stable, and perfectly aligned—so you can enjoy a sleek, clutter-free entertainment setup with peace of mind.
Why a Professional Handyman is Your Best Bet for a Feature Wall TV Mount Singapore Installation
While a DIY approach is tempting, the stakes are high when you work on a featured wall. A professional handyman service like FixFirst brings expertise that guarantees a perfect outcome. Our technicians possess the experience to instantly identify wall types and select the perfect hardware to anchors TV mount feature wall securely. We understand the nuances of HDB regulations, ensuring your renovation remains fully compliant. We handle the heavy lifting, the precise drilling, and the complex cable management, delivering a flawless finish that protects your investment in both your television and your home’s design. We specialize in creating a secure and aesthetically perfect feature wall TV mount Singapore homeowners can trust.
Mounting a television on a feature wall transforms your living space, merging technology with interior design in a sophisticated statement. The process of how to mount TV on feature wall, while detailed, demands a respect for your home’s structure and a commitment to precision. From navigating HDB guidelines to selecting the correct anchors and achieving perfect alignment, every step contributes to a safe and visually stunning result. For peace of mind and a guaranteed professional finish, entrust this critical task to the experts at FixFirst. Contact us today for a consultation and let us help you perfect your feature wall TV mount Singapore installation.