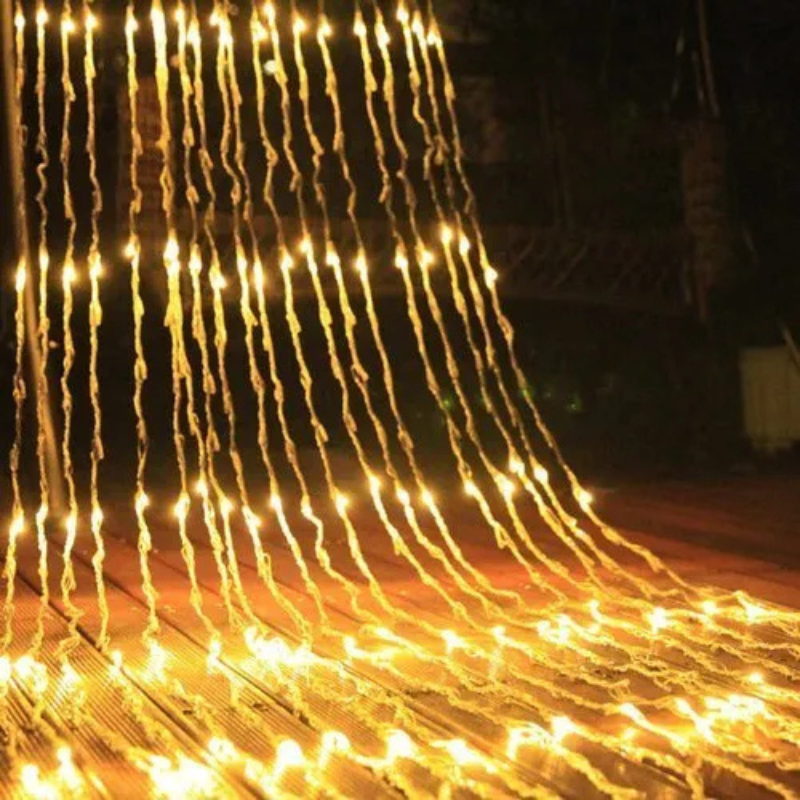
Waterfall lights transform a bare wall into a cascading curtain of illumination. These string lights, also called curtain lights, create a vertical wash of brightness that mimics falling water. For Singapore HDB flats where space comes at a premium, waterfall lights offer a high-impact visual element without consuming floor area. Getting the installation right requires attention to mounting methods, power access, and HDB guidelines. This guide walks you through the entire process of selecting, positioning, and securing these decorative fixtures.

Understanding Waterfall Lights
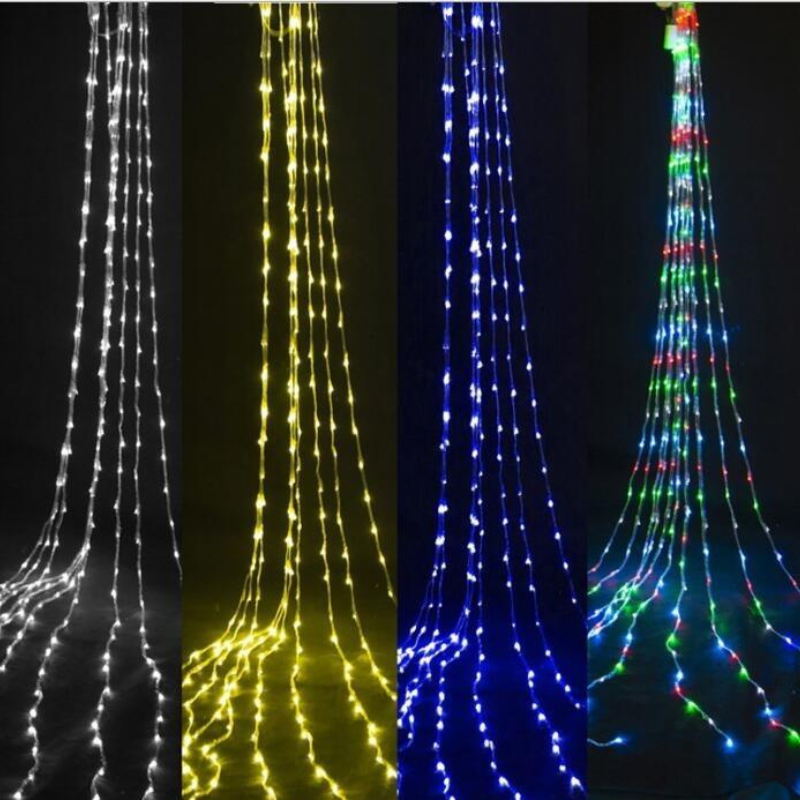
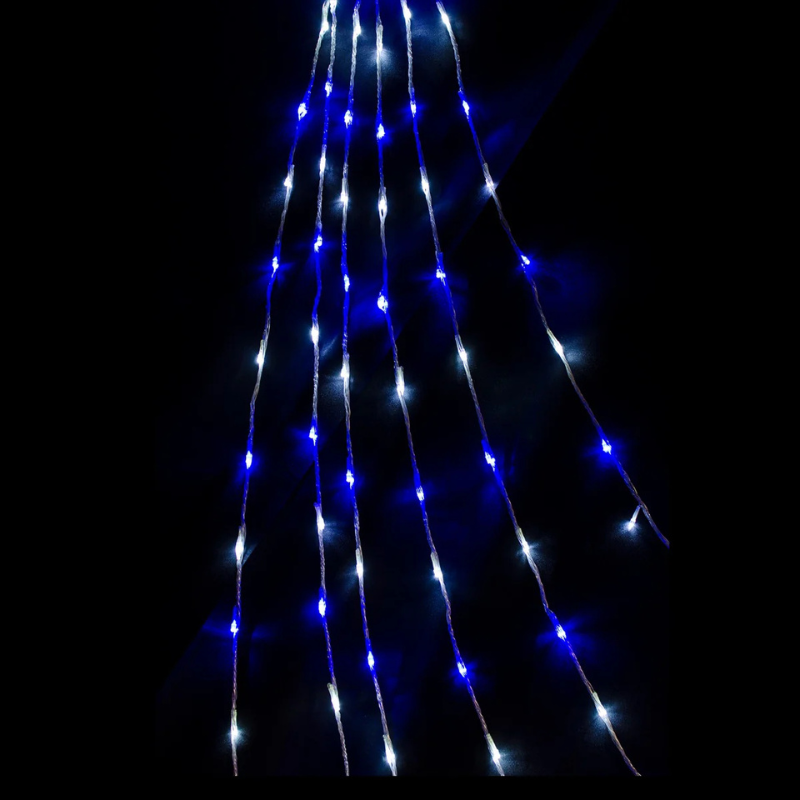
Waterfall lights consist of multiple LED strings that drop vertically from a horizontal mounting track. Each string contains small bulbs spaced evenly along its length. When powered, the lights create a continuous sheet of illumination. Unlike traditional fairy lights draped randomly, waterfall lights produce a clean, structured appearance.
The quality of waterfall lights depends on several factors. LED bulbs consume less electricity than incandescent alternatives and run cooler, an important consideration when mounting near ceilings where heat can build up. Look for lights with IP44 or higher moisture resistance if installing near kitchens or bathrooms. The string spacing matters, too. Narrow spacing of 5cm to 8cm between vertical strings creates a denser light curtain, while wider spacing produces a more spaced-out effect.
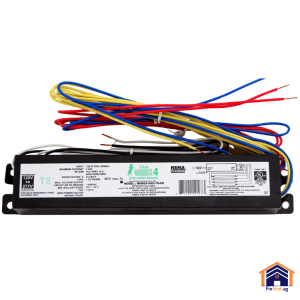
Most waterfall lights operate on low voltage through a power adapter. This makes them safer for home use and reduces the electrical load on your circuits. The adapter plugs into a standard 13-amp socket and converts mains voltage to a safer 12V or 24V output. Understanding how to hang waterfall lights begins with knowing what you are working with.
Electrical Requirements and Safety
Waterfall lights connect to your home’s electrical system through a power adapter. For most installations, this means you need access to a wall socket within reach of the lights’ power cord. The cord length typically ranges from 2 metres to 5 metres. If your desired mounting location sits far from a socket, you may need an extension cord rated for the lights’ power draw.
The electrical loading of waterfall lights is minimal. A typical curtain light with 200 to 400 LEDs draws only 5 to 15 watts. This falls well within the capacity of any HDB circuit. However, avoid plugging multiple high-wattage devices into the same socket. The total draw should not exceed 13 amps per socket, which is roughly 3000 watts for a 230V supply.
Only licensed electrical workers may perform fixed electrical installation work in HDB flats. This includes running new wiring, adding new sockets, or hardwiring lights directly to your ceiling rose. If you need to create a new power point for your waterfall lights, engage a Licensed Electrical Worker (LEW) registered with the Energy Market Authority. Minor tasks like plugging lights into an existing socket do not require a permit.
Waterfall lights installed near wet areas require extra caution. Moisture can enter poorly sealed connections and cause short circuits. Use lights with proper IP ratings for bathrooms or kitchen areas. The Public Utilities (Electricity) Regulations require that decorative lighting installations accessible to people operate at extra-low voltage obtained from a double-wound step-down transformer with the secondary winding isolated from earth.
Positioning Your Waterfall Lights
Placement determines the visual impact of your waterfall lights. Consider the room layout, viewing angles, and existing lighting before finalising a position.
The most common installation spots in HDB flats include feature walls in living rooms, behind television consoles, in bedroom corners, and along balcony walls. The lights work best against plain, light-coloured walls where the contrast makes each bulb visible. Dark walls absorb light and diminish the effect.
Height matters, as well. Mount the horizontal track close to the ceiling, typically 50mm to 100mm below the ceiling line. This allows the vertical strings to drop the full length of your wall. Measure the vertical drop from the track to the floor. Most waterfall lights come in standard lengths of 2 metres, 2.5 metres, or 3 metres. Choose a length that leaves a gap of 200mm to 300mm between the bottom of the strings and the floor. This prevents the lights from dragging on the floor and protects the bulbs from damage.
Consider power cord routing. The power adapter connects at one end of the horizontal track. Position this end as close as possible to a wall socket. If you need to hide the cord, run it behind furniture or use cable trunking available at any hardware store. Plan the route before you start drilling.
For rooms with ceiling fans, maintain clearance between the fan blades and the light strings. A minimum distance of 500mm prevents the fan from catching the strings or creating distracting shadows. For rooms with air conditioners, avoid mounting directly below the unit where condensation could drip onto the electrical components.
Selecting Mounting Hardware
The method of mounting your waterfall lights depends on your ceiling type. HDB flats have either concrete ceilings or, in some newer units, suspended false ceilings made of gypsum board.
Concrete ceilings provide the strongest mounting surface. You will need a hammer drill with a 6mm carbide-tipped masonry bit. Use plastic wall plugs and pan-head screws to secure the mounting track. The screw diameter must not exceed 6mm, and the penetration depth must not exceed 40mm, in line with HDB regulations. For concrete, this depth provides adequate holding power for the lightweight track.
False ceilings made of gypsum board cannot support heavy loads, but waterfall lights weigh very little. Use self-drilling plasterboard anchors or toggle bolts designed for hollow walls. These fasteners expand behind the board to distribute the load. Do not use ordinary wall plugs in gypsum board; they will pull out over time.
Adhesive hooks offer a no-drill alternative for lightweight waterfall lights. Look for heavy-duty adhesive hooks rated for at least 2kg per hook. Clean the ceiling surface thoroughly with rubbing alcohol before applying the adhesive. Allow the adhesive to cure for 12 hours before hanging the lights. This method works well for renters who cannot drill into ceilings. However, adhesive hooks may fail in Singapore’s humid conditions, especially near kitchens or bathrooms.
Many waterfall lights come with a mounting track that has pre-drilled holes at regular intervals. Use these holes to attach the track to the ceiling. Space your screws or hooks approximately 300mm to 500mm apart. For a 3-metre track, five to seven mounting points provide secure support.
Step-by-Step Installation Guide
Here is how to hang waterfall lights correctly.
| Step | Details |
|---|---|
| Step 1: Unpack and test the lights | Remove the waterfall lights from their packaging. Lay the strings flat on the floor to untangle them. Plug the power adapter into a socket and verify that all bulbs illuminate. Replace any dead bulbs before installation. This test saves you the trouble of mounting faulty lights. |
| Step 2: Measure and mark mounting positions | Hold the mounting track against the ceiling at your desired position. Use a spirit level to ensure the track sits perfectly horizontal. Mark the screw hole positions with a pencil. For adhesive hooks, mark the hook positions instead. Double-check that the power cord reaches your intended socket. |
| Step 3: Drill holes and install anchors | For concrete ceilings, switch off the room lights and cover nearby furniture with a drop sheet. Drill holes at your marked positions using a hammer drill with a 6mm masonry bit. Drill only to the depth required for your wall plugs, typically 30mm to 40mm. Insert the wall plugs flush with the ceiling surface. For false ceilings, insert the plasterboard anchors according to the manufacturer’s instructions. |
| Step 4: Secure the mounting track | Hold the track against the ceiling, aligning its holes with your drilled holes. Drive pan-head screws through the track and into the anchors. Tighten until the track feels firm against the ceiling. Do not overtighten, as this can strip the anchor or crack the ceiling surface. For adhesive hooks, press each hook firmly against the ceiling for 30 seconds and allow the adhesive to cure as directed. |
| Step 5: Hang the lights | Clip the horizontal bar of the waterfall lights into the mounting track or onto the hooks. The bar should click into place securely. Gently lower the vertical strings, ensuring they hang straight without tangling. Separate any tangled strands by hand. |
| Step 6: Route the power cord | Run the power cord from the lights to the wall socket along the most discreet path. Use cable clips or adhesive cable holders to secure the cord to the wall or ceiling. Avoid running the cord across doorways or walkways where it could become a tripping hazard. |
| Step 7: Connect power and test | Plug the power adapter into the socket. Turn on the lights and observe the illumination. Check for any dark spots, flickering, or uneven brightness. Adjust the strings if necessary. If the lights include a controller, test the different modes and brightness settings. |
| Step 8: Tidy the installation | Use cable trunking to conceal any visible power cords. Trunking comes in white or grey and blends with most HDB walls. Cut the trunking to length with a fine-tooth saw, peel off the adhesive backing, and press it against the wall along the cord route. |
Want beautiful, safe LED lighting without the hassle? FixFirst’s certified handymen install waterfall lights and other decorative lighting across all HDB flats in Singapore—securely, neatly, and up to standard. We handle mounting, wiring, and tidying so your home sparkles safely. Book now for a stunning finish!
Common Mistakes To Avoid
Several pitfalls can turn a simple installation into a frustrating experience. Knowing what to avoid helps you achieve a professional result.
Hanging the track unevenly creates a crooked light curtain. The human eye notices even slight tilts in vertical lines. Always use a spirit level during marking. Do not rely on visual estimation alone.
Choosing lights that are too short for your wall leaves an awkward gap at the bottom. Measure the distance from your ceiling to the floor, then subtract 200mm to 300mm. Purchase lights with vertical drop matching this measurement.
Ignoring the weight of the lights leads to sagging or falling fixtures. While waterfall lights are lightweight, the cumulative weight of a large curtain can strain weak adhesive hooks. Use screws and anchors for permanent installations.
Overloading a single power socket causes overheating and fire risk. Each socket can handle up to 13 amps. Calculate the total draw of everything plugged into that socket. Waterfall lights draw minimal power, but adding other devices may exceed the limit.
Forgetting to secure the power cord creates a tripping hazard. A loose cord across the floor invites accidents, especially in households with children or elderly residents. Use cable clips or trunking to keep cords against walls and out of traffic paths.
Conclusion
Waterfall lights add a dramatic vertical element to any HDB room without consuming floor space. Choosing the right size, mounting the track securely, and routing power cords safely form the foundation of a successful installation. Whether you use screws for a concrete ceiling or adhesive hooks for a rental flat, following the correct sequence ensures your lights stay level, secure, and beautiful for years. For installations requiring new electrical points or work at height, professional assistance provides peace of mind and guarantees compliance with HDB regulations. Contact FixFirst today to get your waterfall lights hung properly.