How To Safely Mount and Install a Ceiling Clothes Hanger: A Step-by-Step Guide
Drying clothes efficiently in a compact space requires smart solutions, and a ceiling clothes hanger offers both functionality and space-saving benefits. Whether you live in a small apartment or simply want to optimize your laundry area, installing a retractable hanger Singapore homeowners love can revolutionize your laundry solutions. This guide walks you through the installation process, ensuring safety, durability, and ease of use. With the right tools and a methodical approach, you can even set up a smart clothes hanger that makes laundry day effortless.
Why Choose a Ceiling Clothes Hanger?
Traditional drying racks, often standalone or wall mounted, can take up valuable floor space, but a ceiling clothes hanger maximizes vertical room and keeps your living area uncluttered. Retractable models, like those popular in Singapore, allow you to pull down the hanger when needed and tuck it away neatly afterward. These laundry solutions are ideal for humid climates where indoor drying is common. Meanwhile, a smart clothes hanger often includes reinforced cables, smooth retraction mechanisms, and high weight capacity, making it a reliable choice for heavy laundry loads.
Tools and Materials You’ll Need
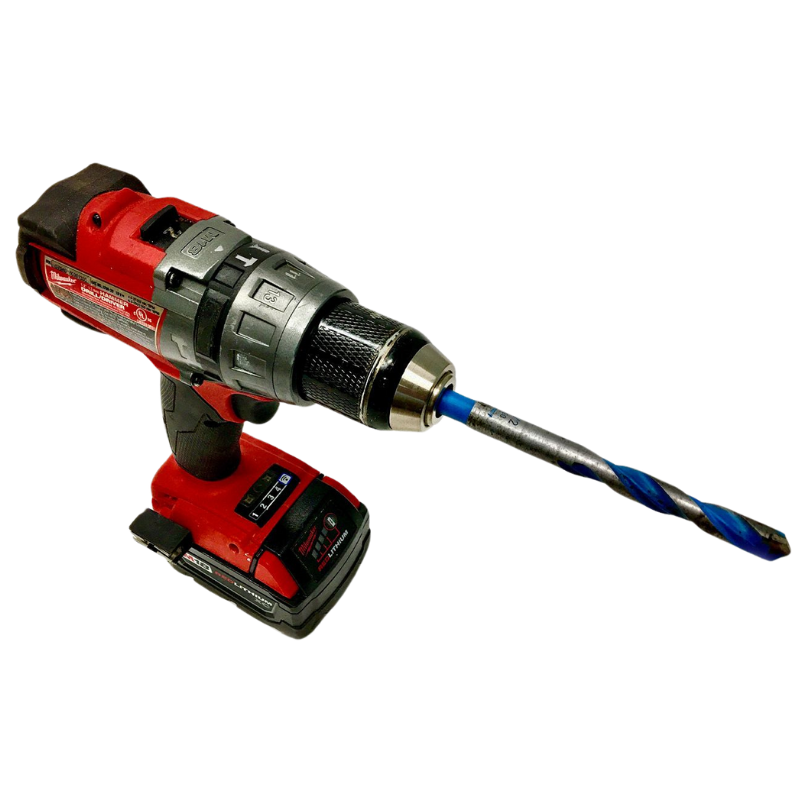
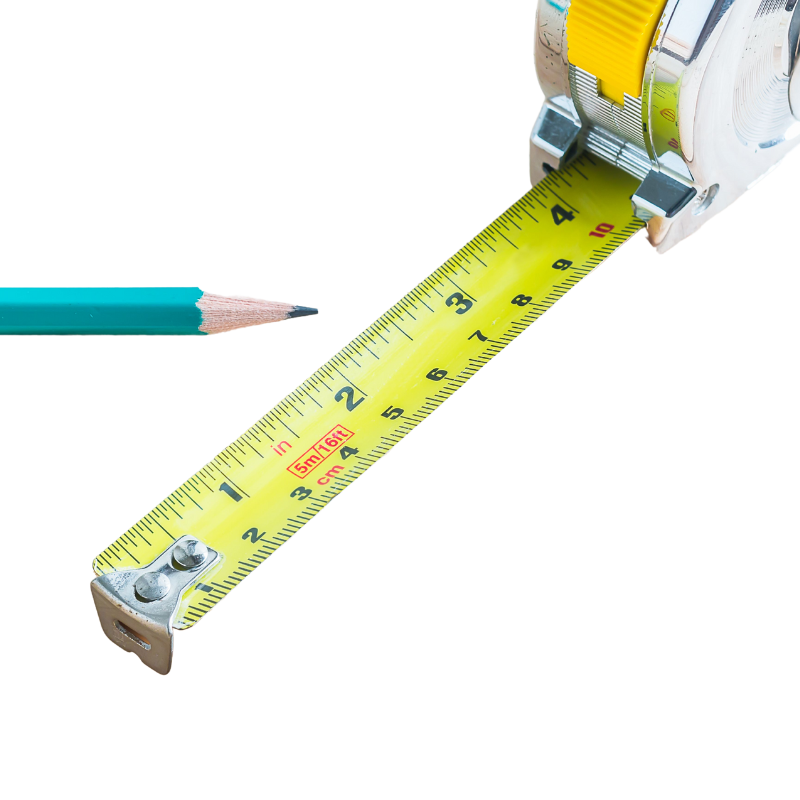
Before starting, gather the necessary equipment. They include the following:
The following installation steps are not as straightforward if you live in an HDB unit. It’s because mounting a clothes hanger to the ceiling of an HDB flat requires careful consideration of HDB regulations, structural limitations, and safety precautions. HDB ceilings are typically made of reinforced concrete, so drilling into them requires a powerful drill and appropriate wall plugs or anchors to ensure a secure fit. However, HDB guidelines generally prohibit unauthorized modifications that could compromise structural integrity or pose safety risks. Residents must seek approval from HDB before installing ceiling-mounted fixtures, especially if the installation involves drilling into beams or load-bearing structures. Alternatively, freestanding or wall-mounted drying racks are often recommended to avoid potential damage. If permitted, hiring a professional installer is advisable to ensure proper weight distribution and adherence to HDB rules. Failure to comply could result in fines or mandatory restoration of the ceiling.
Step 1: Locate the Ceiling Joists
The stability of your retractable hanger Singapore models depend on secure anchoring. Use a stud finder to detect ceiling joists, your strongest points for mounting. Mark these spots with a pencil. If your ceiling lacks joists where needed, consider using heavy-duty toggle bolts for added support.
Why Choose a Ceiling Clothes Hanger?
Traditional drying racks, often standalone or wall mounted, can take up valuable floor space, but a ceiling clothes hanger maximizes vertical room and keeps your living area uncluttered. Retractable models, like those popular in Singapore, allow you to pull down the hanger when needed and tuck it away neatly afterward. These laundry solutions are ideal for humid climates where indoor drying is common. Meanwhile, a smart clothes hanger often includes reinforced cables, smooth retraction mechanisms, and high weight capacity, making it a reliable choice for heavy laundry loads.
Step 2: Measure and Mark the Mounting Points
Decide on the hanger’s placement, ensuring enough clearance for drying clothes. Hold the mounting bracket against the ceiling and mark the screw holes. Use a level to confirm alignment. For a smart clothes hanger with multiple arms, ensure equal spacing between brackets.
Step 3: Drill Pilot Holes
Pre-drill holes at the marked spots, using a bit slightly smaller than your screws. This prevents wood splitting and ensures a snug fit. If mounting into concrete, use a masonry bit and wall plugs.
Step 4: Secure the Mounting Brackets
Attach the brackets with screws, tightening firmly but not excessively to avoid stripping. Double-check alignment with the level. A well-installed ceiling clothes hanger should remain stable even when fully loaded.
Step 5: Install the Retractable Mechanism
Follow the manufacturer’s instructions to attach the retractable arms or cords. Test the pull-down function to ensure smooth operation. Many retractable hanger Singapore models feature a locking mechanism. Consider familiarizing yourself with its use to prevent accidental drops.
Step 6: Load Test and Final Adjustments
Before hanging laundry, test the hanger’s strength with a moderate load. Ensure all connections remain secure. Make any necessary adjustments to the retractable tension for optimal performance.
Maintenance Tips for Longevity
To keep your smart clothes hanger in top condition, periodically check screws for tightness and wipe down the retractable cords to prevent dust buildup. Avoid overloading beyond the recommended weight limit.
Conclusion
Installing a ceiling clothes hanger transforms your laundry routine, offering a practical laundry solution for space-conscious households. With the right tools and careful execution, your retractable hanger Singapore setup will provide years of reliable service.
Frequently Asked Questions (FAQs) about Ceiling Clothes Hangers
Most high-quality retractable hanger Singapore units support 15-30 kg, but always check the manufacturer’s specifications. Overloading can damage the mechanism.
If you’re comfortable with basic tools, DIY installation is feasible. But for uncertain structural support, consult a professional to ensure safety.
By following this guide, you’ll enjoy a seamless, space-saving laundry solution that simplifies your daily routine. And for quick, hassle-free mounting and installation of your ceiling laundry rack or professional drilling works, contact us here at FixFirst today.